How to Compress Image to 100 KB (2025 Guide)
If your hero image, product shot, or marketing banner is heavier than 100 KB, you are leaving conversions, email deliverability, and Core Web Vitals on the table. This 2025 guide walks you through a repeatable workflow to hit the 100 KB sweet spot without turning crisp visuals into mush. We will use the ReduceImages.online 100 KB Compressor as our control center, highlight expert-only tricks, and provide checklists you can hand to any teammate.
TL;DR: Upload your asset, lock the target size to 100 KB, preview the before/after, and download. The pro-level insights below show you how to do it consistently for different formats, campaigns, and channels.
Why 100 KB Is the Magic Number for Web Images
- Fast loading: 100 KB images typically render in <0.2 seconds on 4G and pass Google’s LCP thresholds with room to spare.
- SEO boost: Faster images boost Core Web Vitals, which correlates directly with rankings and lower bounce rates.
- Universal compatibility: Email providers like Gmail, CRM platforms, and marketplaces often throttle or reject heavier assets.
- Quality balance: 100 KB is the sweet spot where modern compression preserves perceived sharpness for screens up to 2K.
Every time you ship a heavier file, you risk delayed rendering, blurred placeholders, or blocked email campaigns. With ReduceImages.online, the target size is set up front, so you are never guessing whether the final export will pass QA.
Who Needs 100 KB Assets the Most?
- Email marketers who must keep newsletters under 102 KB to avoid clipping—pair with our JPG to WebP converter for deeper reductions.
- E-commerce teams refreshing PDP galleries where every KB influences conversion and mobile data usage.
- SEO and performance specialists tracking Core Web Vitals scores and aiming for sub-2.5s LCP across landing pages.
- Product and support teams uploading screenshots to help centers that impose strict attachment limits.
If you recognize yourself in any of these roles, build a repeatable workflow now so image weight is never the bottleneck of your release pipeline.
The Best Tool: ReduceImages.online 100 KB Compressor
100% free, browser-based, no uploads, no registration required.
Why creators rely on this workflow:
- Guaranteed target size: Lock in 100 KB (or any custom value) and watch the progress meter update in real time.
- Before/after slider: Confidently approve quality with pixel-level previews before you publish.
- Privacy-first processing: Everything happens in your browser—perfect for sensitive product imagery or unreleased campaign visuals.
- Format flexibility: Convert to WebP or AVIF without leaving the tool when you need extra savings.
Step-by-Step Workflow
1. Upload Your Image
Click the upload area and select your image (JPG, PNG, WebP, GIF, BMP supported). You can also drag and drop straight from your desktop or asset manager. Need to downsize several assets? Queue them one by one and keep the browser tab open—the compressor remembers the last 100 KB preset.
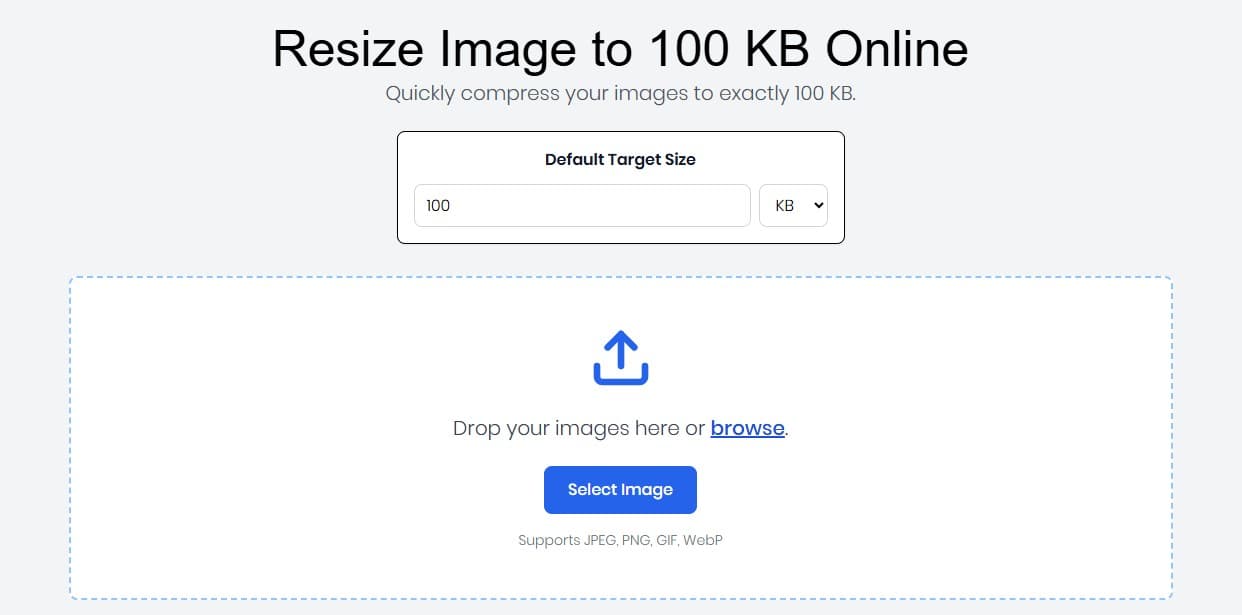
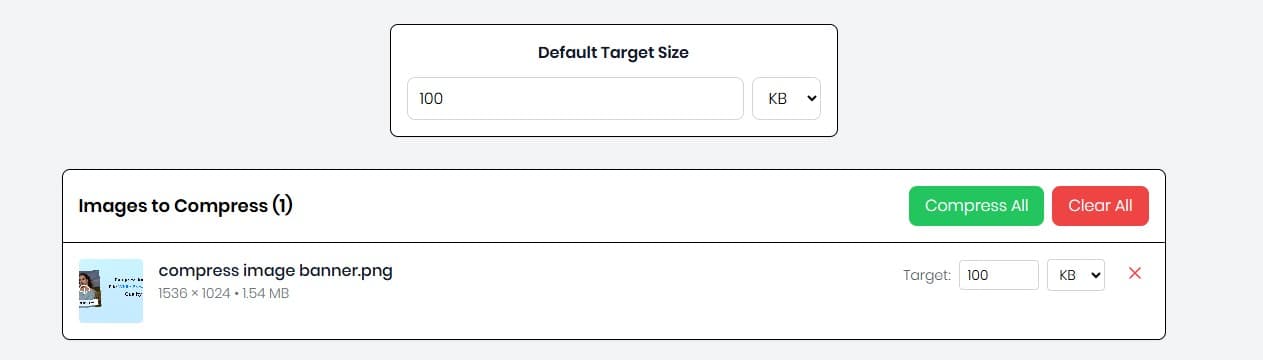
2. Set Target Size to 100 KB
The tool automatically sets the target size to 100 KB. Use the quality slider to fine-tune compression strength, and toggle Smart Resize to reduce dimensions proportionally if the current resolution is excessive for your layout. Want to squeeze a little more? Jump over to the PNG to WebP converter directly from the sidebar for an instant format upgrade.
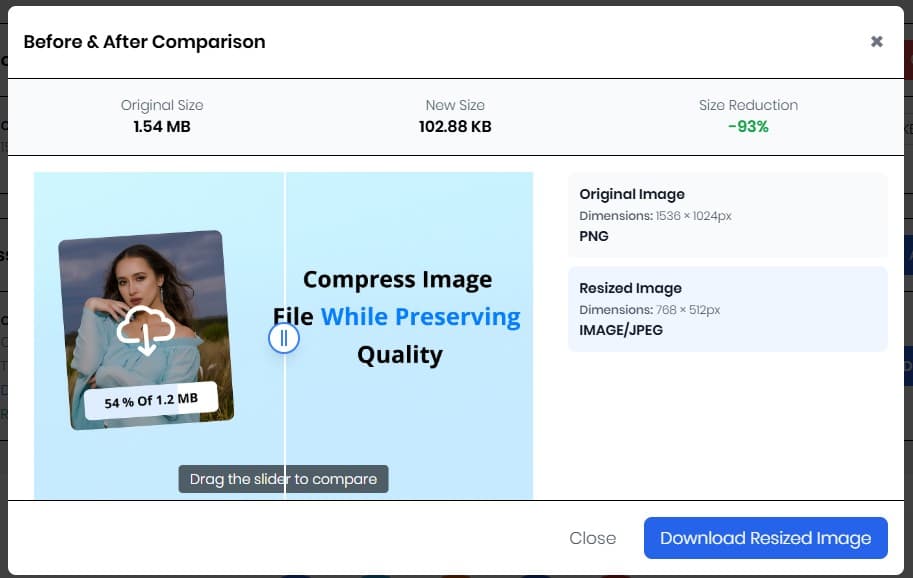
3. Preview and Download
See a live preview of your compressed image with pixel-perfect before/after comparison. Inspect edges, gradients, and typography—if anything looks off, nudge the slider or swap formats. When the preview matches your expectations, click Download and the tool saves a copy with your original filename plus -100kb for clean version control.
Fine-Tune Settings for Pixel-Perfect Results
Match the Output Format to the Use Case
- WebP or AVIF for modern browsers and progressive web apps. Convert inside the compressor or explore every format converter on the ReduceImages Tools hub.
- Optimized JPG for marketplaces, CMS platforms, and email clients that haven’t embraced next-gen formats yet.
- Lightweight PNG when you need transparency or crisp UI elements—combine with the PNG to WebP tool when the background can be flattened.
Control Dimensions with Smart Resize
- Set explicit width/height targets for hero banners or blog feature images.
- Use the aspect ratio lock to prevent stretched thumbnails when reusing assets across channels.
- Export retina-ready versions (2x) and let your frontend handle responsive
<img>srcsetattributes.
Ship Faster with Instant Re-Runs
- Re-upload the exported file if you overshoot—ReduceImages.online caches the settings so you can iterate in seconds.
- Hit the History tab to revisit previous compressions and maintain consistency across campaigns.
- Save presets for 50 KB, 150 KB, or other limits you commonly enforce.
Pro Tips for Perfect 100 KB Images
- Start with high-quality source images so the compression algorithm has more data to preserve details.
- Crop or resize large images before compressing—eliminate empty margins or background space with the Crop Image tool first.
- Test multiple quality levels; differences between 78% and 82% can be invisible but save crucial KBs.
- Use PNG for graphics, JPG for photos, and WebP or AVIF when you need the best of both worlds.
- Document the compression settings used for each campaign in your DAM or project tracker to keep stakeholders aligned.
100 KB Image Quality Checklist
- File size is ≤ 100 KB (confirm inside the ReduceImages.online dashboard)
- Visual comparison shows no banding on gradients or backgrounds
- Text overlays remain crisp with no haloing
- Transparent areas and logos look clean on both light and dark backgrounds
- Asset naming follows a clear convention (e.g.,
product-name-100kb.webp)
Troubleshooting: When Your File Won’t Hit 100 KB
- Still too heavy? Enable Smart Resize and drop width/height by 10–15% or switch to WebP.
- Quality slipping? Increase the quality slider slightly, deselect aggressive chroma subsampling, or try our Ultimate Image Compression Guide for advanced workflows.
- Need batch automation? Use our Bulk Photo Compressor to process entire product collections.
- Working with screenshots? Run them through the JPG to PDF tool when you need to share documentation while preserving clarity.
Putting It All Together
Prioritize a high-quality source asset, lock your target to 100 KB, and iterate quickly with the before/after preview. Capture your winning settings, then roll them out to every hero banner, email header, and app screenshot your team ships. With the ReduceImages.online suite, you can jump between compression, resizing, and format conversion in a single session—no heavyweight desktop software required.
Ready to compress your images to 100 KB? Try ReduceImages.online 100 KB Compressor now and get perfect results for web, email, and social media.
